


HINGE POSITIONER FOR SPOT-WELDING PIVOTS OR HINGES
180,00 €
HINGE POSITIONER FOR SPOT-WELDING PIVOTS OR HINGES.
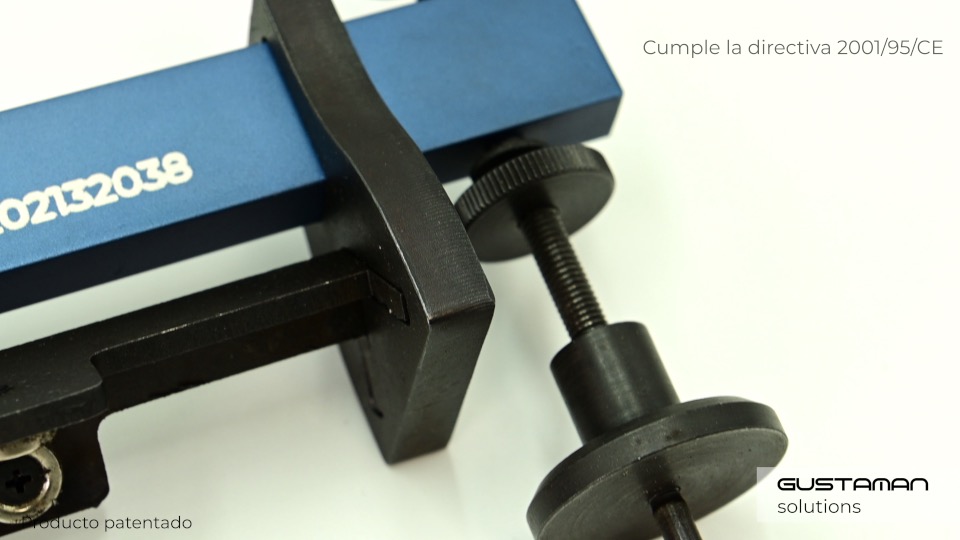
(SPANISH PATENT: U202132038).
Thank you very much for purchasing our product. It is a manual tool to assemble all types of pivots or hinges, easily and quickly leaving them well aligned and with the correct clearing.
This product is guaranteed to comply with EU directive 2001/95/EC.
PRECAUTIONS
Before using the tool, make sure that everyone using the tool has read and understood all safety instructions and other information contained in this manual. Save these instructions and review them before use and when teaching them to others. We recommend caution when using the hinge positioner taking the same precautions and safety measures as when using a drill or cutting tool.
SAFETY PRECAUTIONS:
- WEIGHT: Although the device is not heavy, exercise caution to avoid dropping it and damaging property or causing physical harm to others. Do not throw or drop the positioner.
- CHILDREN: The positioner is not a toy. Keep it out of the reach of children as it contains small parts that may be dangerous.
- TOXICITY: Contains some parts with blued steel or anodized coating. We recommend avoiding contact with body fluids and mucous membranes.
If any part of the device is accidently ingested, seek immediate medical attention at the nearest emergency center.
- WARNING: Do not use the hinge positioner without approved welding gloves.
PRECAUTIONS FOR USE AND MAINTENANCE:
- Do not use the hinge positioner for anything other than its intended purpose.
- Do not strike the hinge positioner during use as this may affect the calibration of the hinge positioner.
- Use only accessories approved for use with the hinge positioner.
- Do not spill any type of liquid on the hinge positioner and store in a dry place.
- Do not use the hinge positioner without approved welding gloves. If several spots are welded, the tool can become hot and cause burns. Allow the positioner to cool down after each use and use the corresponding PPE.
- Do not drill or modify any part of the tool.
- Do not hit the magnets when placing the hinge on them. They are made of neodymium, which is very powerful but fragile and can easily suffer irreversible damage.
- Do not use the hinge positioner to weld the hinge completely, only to spot weld it into position.
- Periodically inspect the condition of the positioner.
- Failure to comply with the recommendations and key information described in this section will void the warranty.
INSTRUCTIONS FOR USE
CAUTION: READ THE ENTIRE USER'S MANUAL CAREFULLY BEFORE USE.
- For possible changes and updates, please refer to www.gustamansolutions.es
- Proper maintenance will maximize this product's effectiveness.
- If damaged or deteriorated by use, a new unit should be purchased.
- The hinge positioner is delivered in a cardboard box, securely packed for protection during transport.
- MEASUREMENTS: 280 mm length x 125 mm height x 37 mm width (approximately).
- COLOR: Blue and black.
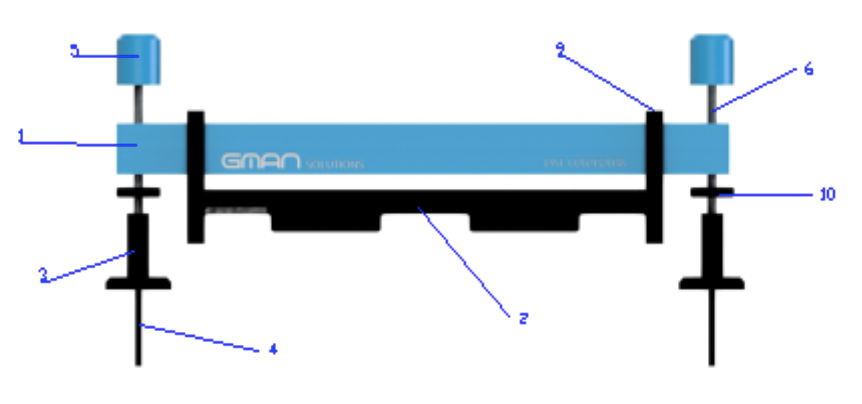
- Center the hinge or pivot to be spot welded on the magnets (7) in the main hinge bed (2).
- Introduce the centering pins between the frame and the sheet where you want to place the hinge.
- Adjust the clearance or height you want to leave between the hinge and the surface to be spot welded by turning the adjusting knobs (5) and set the desired height using the position locking washer (10). This allows more hinges of the same type to be placed without having to readjust the height.
- FROM THIS STEP ON, WEAR APPROVED WELDING GLOVES.
- Spot weld the different parts of hinges or pivots so that they are fixed in the correct position.
- Remove the positioner to be able to weld the hinge completely.
- NEVER WELD THE HINGE WITH THE POSITIONER IN PLACE.
- Once used, store the tool in a safe place to avoid any impacts that might damage some component of the positioner.
NOTA: GMAN Solutions is not responsible for any damage caused by misuse of the positioner.
PARTS LIST
- Central support bar
- Main hinge bed
- Support feet
- Centering pins
- Adjusting knobs
- Threaded rod for adjusting knobs
- Magnets
- Magnet set screws
- Central bar set screws
- Position locking washer